Cyanotyping is fun for all age groups! It’s a fun way to explain how chemical reactions change materials properties. In this case, how UV light can cause a change in colour on paper.
For very young children, cyanotyping is a nice way to engage them with how fun science can be!
What is a chemical reaction
Every solid object, liquid or gas on our planet is made up of tiny building blocks that are super small. These are called atoms. In order to create new things, we can put two things together and re-arrange the atoms in a chemical reaction.
Can you think of an example of a chemical reaction?
Some really common ones are baking a cake, or rusting of iron or the bubbles produced when you mix vinegar with bicarbonate of Soda. (video below) These atoms are being rearranged and one of the new things being created is a gas (hence the bubbles).
Some evidence for a chemical reaction can include:

- bubbles – if the chemical reaction makes a gas
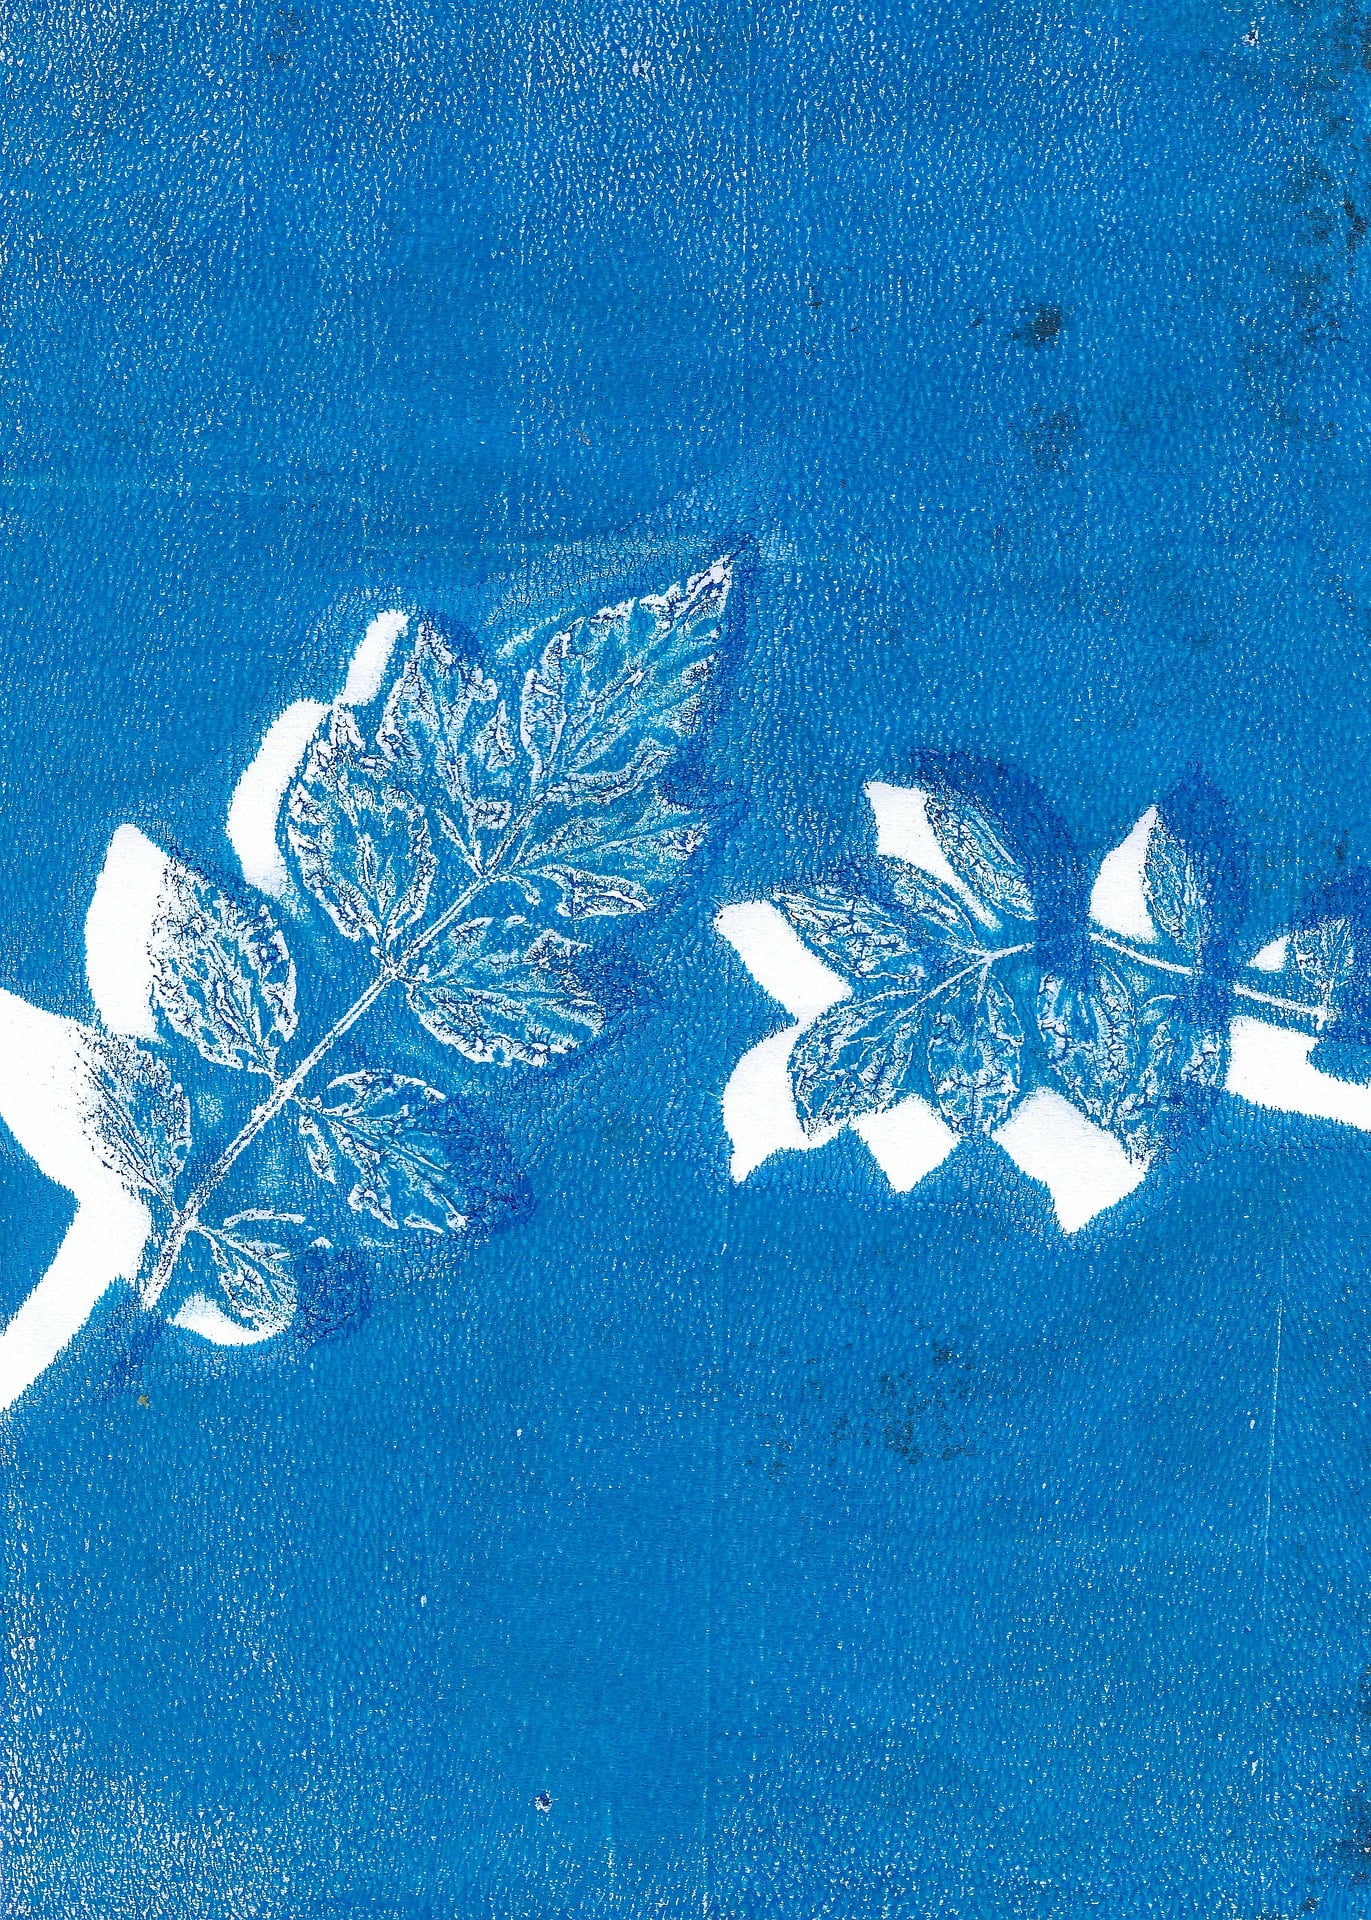
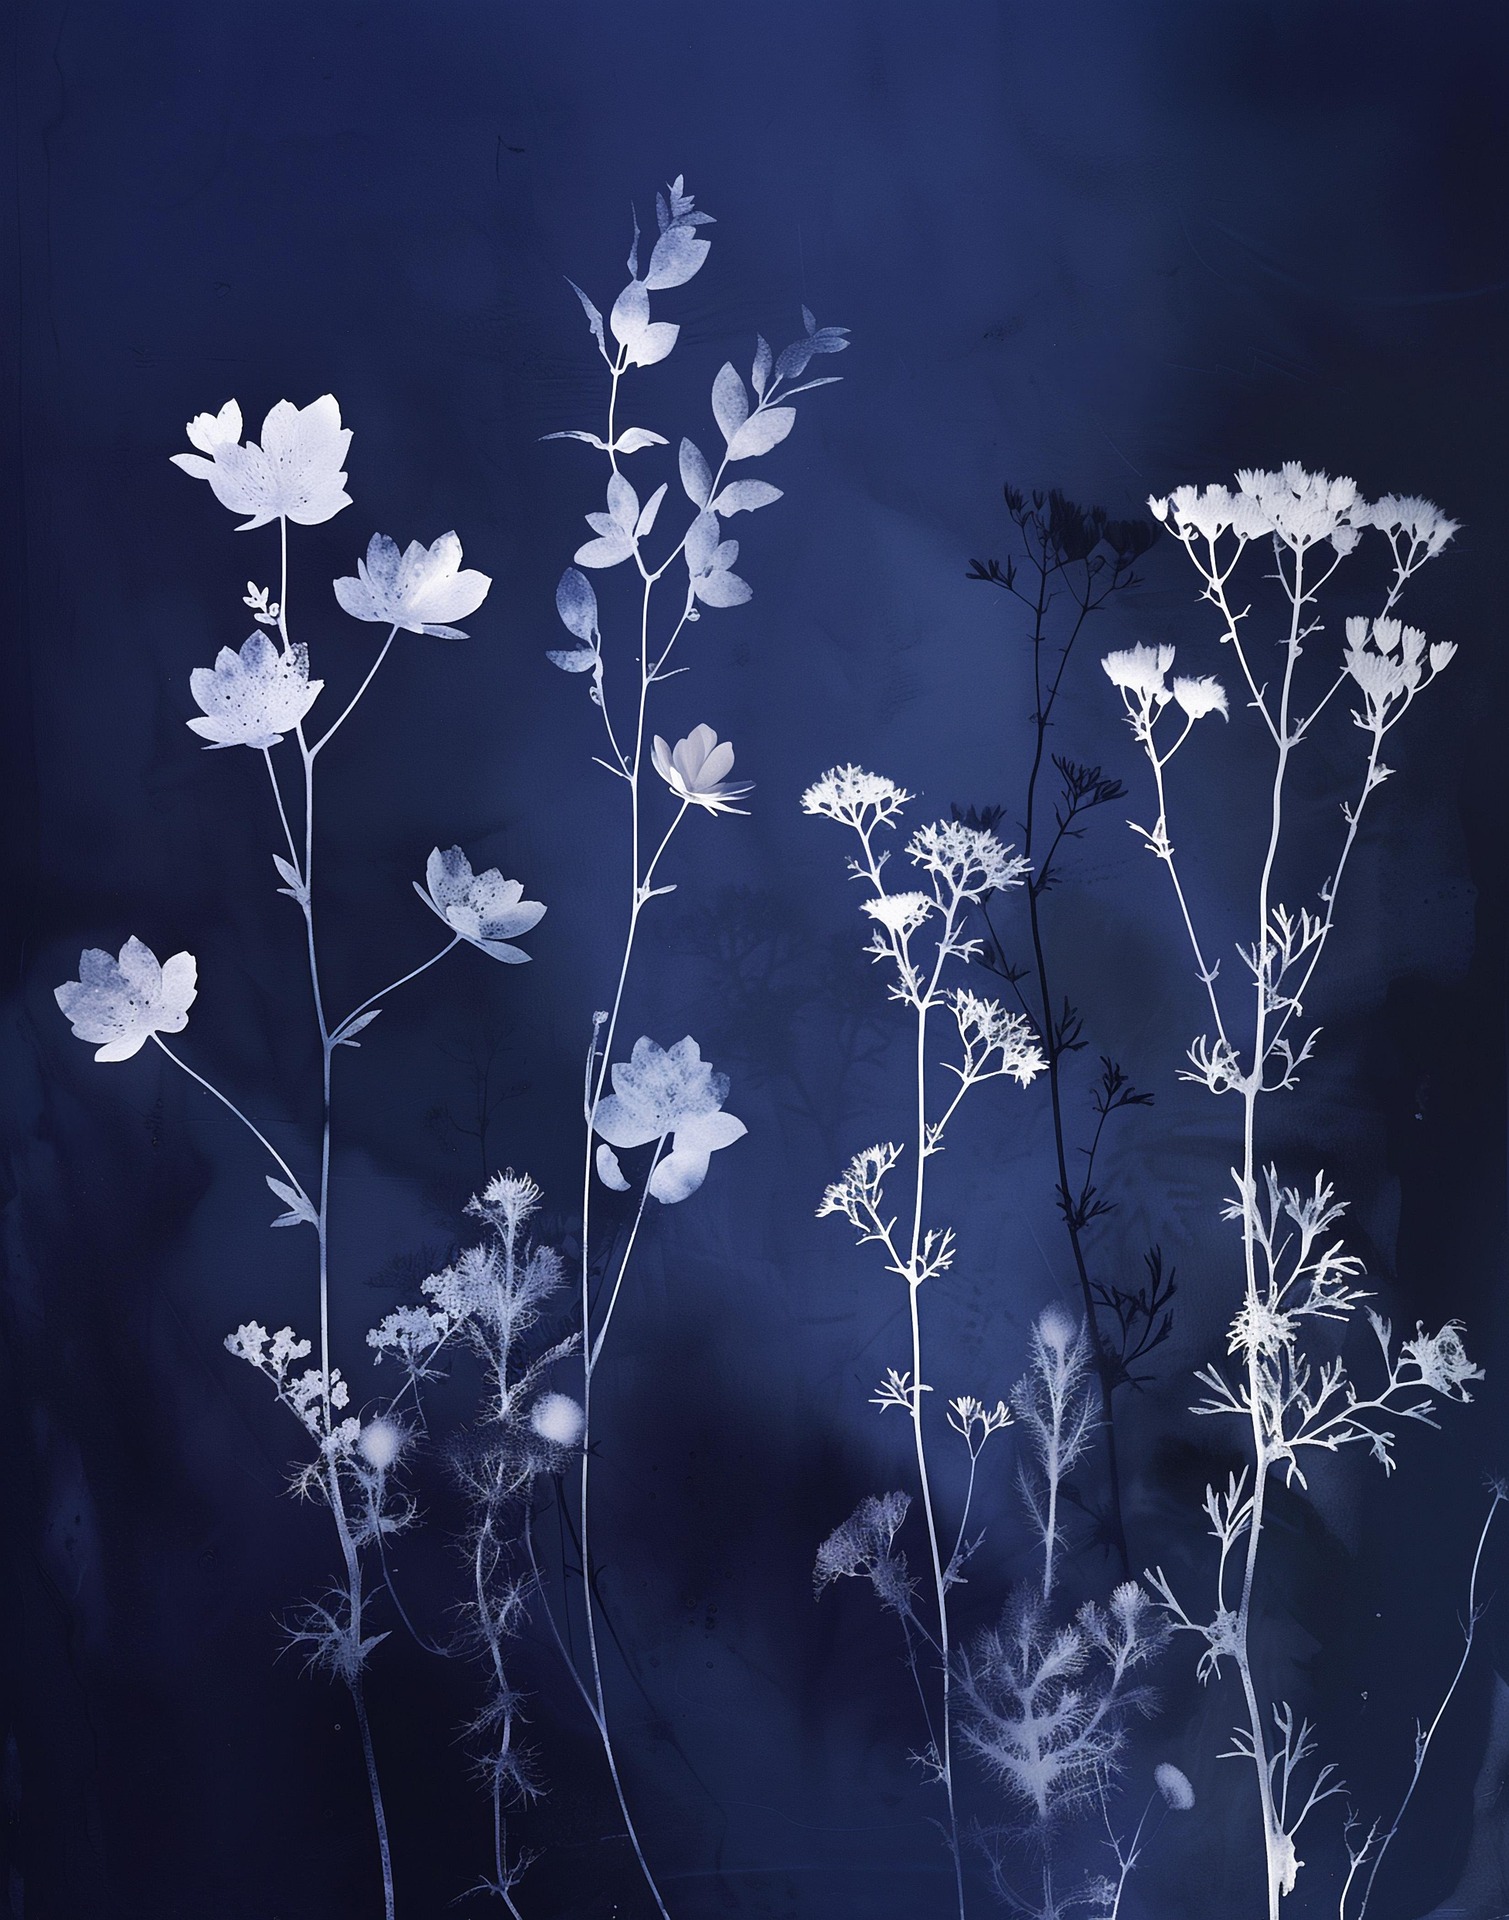
- a colour change – cyanotyping
- light – such as a fire
- heating up
- cooling down
Not all chemical reactions have all of these properties. For example, boiling water creates bubbles as a gas is made, however this is not a chemical reaction due to atoms not being rearranged.
How does Cyanotyping work?
This chemical reaction re-arranges the atoms in 2 solutions that are pre-coated on the paper. However, this reaction only happens when it comes in contact with UV rays.
UV rays can be found within sunlight. This is what gives you sunburn and is harmful for your skin.
However, for this activity we can use this UV from sunlight, or a UV lamp if it is not very sunny outside in order to allow this reaction to occur.
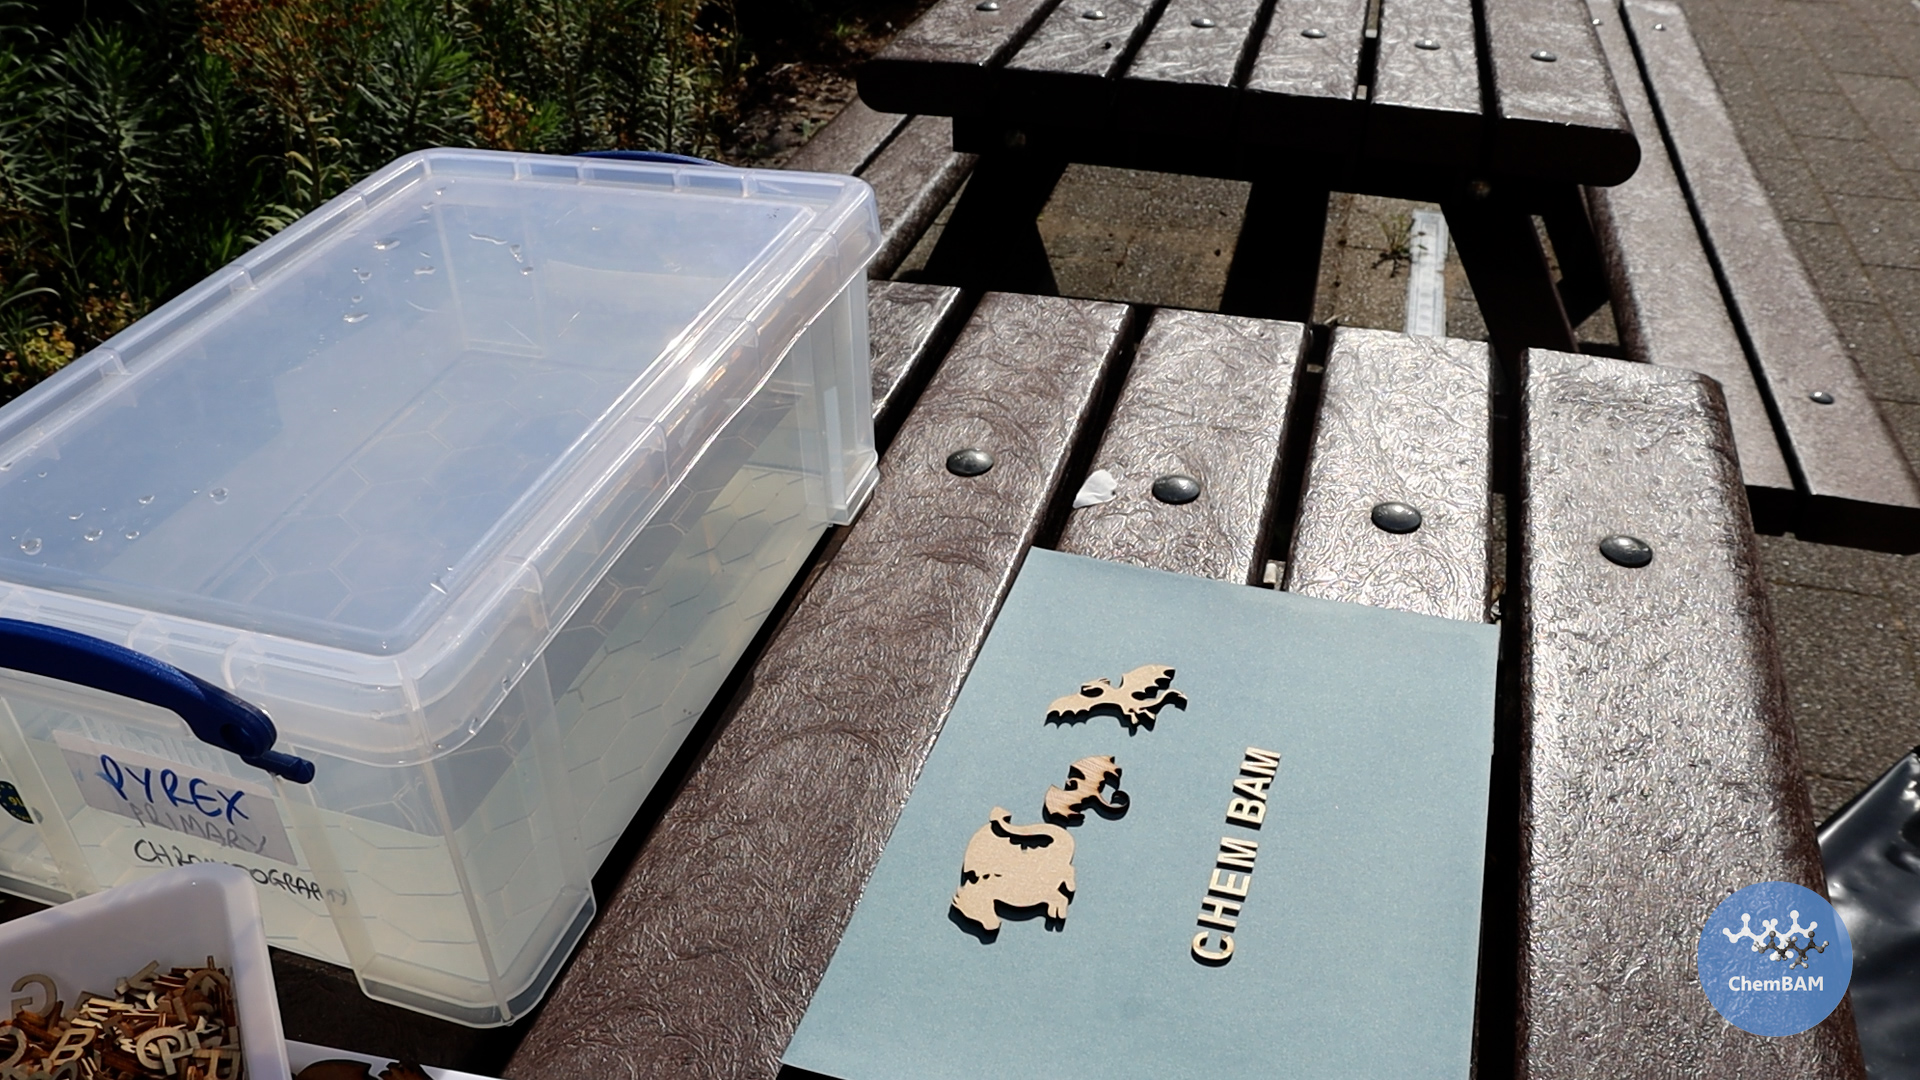
What you’ll need
- Pre-coated cyanotyping paper such as these ones from cyanotype.co.uk
- Items to place on the paper, flatter items will give sharper outlines
- A source of water to stop the reaction (a tap or a bucket of water)
Cyanotyping instructions
- Take the paper out of the dark bag
- Immediately place your items on top the paper
- (optional tip) If you are using botanical specimens you can place a piece of glass on the top to create sharper images.
- Leave to develop, the amount of time will depend on the intensity of UV you have.
- If using a UV lamp develop for 8 minutes.
- If using the sun on a high UV day develop for anything longer than 2 minutes.
- If using the sun on a clear winter day, you may need to lead it to develop for 30 minutes.
- IMPORTANT. Make sure the items do not move in the wind and try not to make any other shadows on the paper in this time-frame.
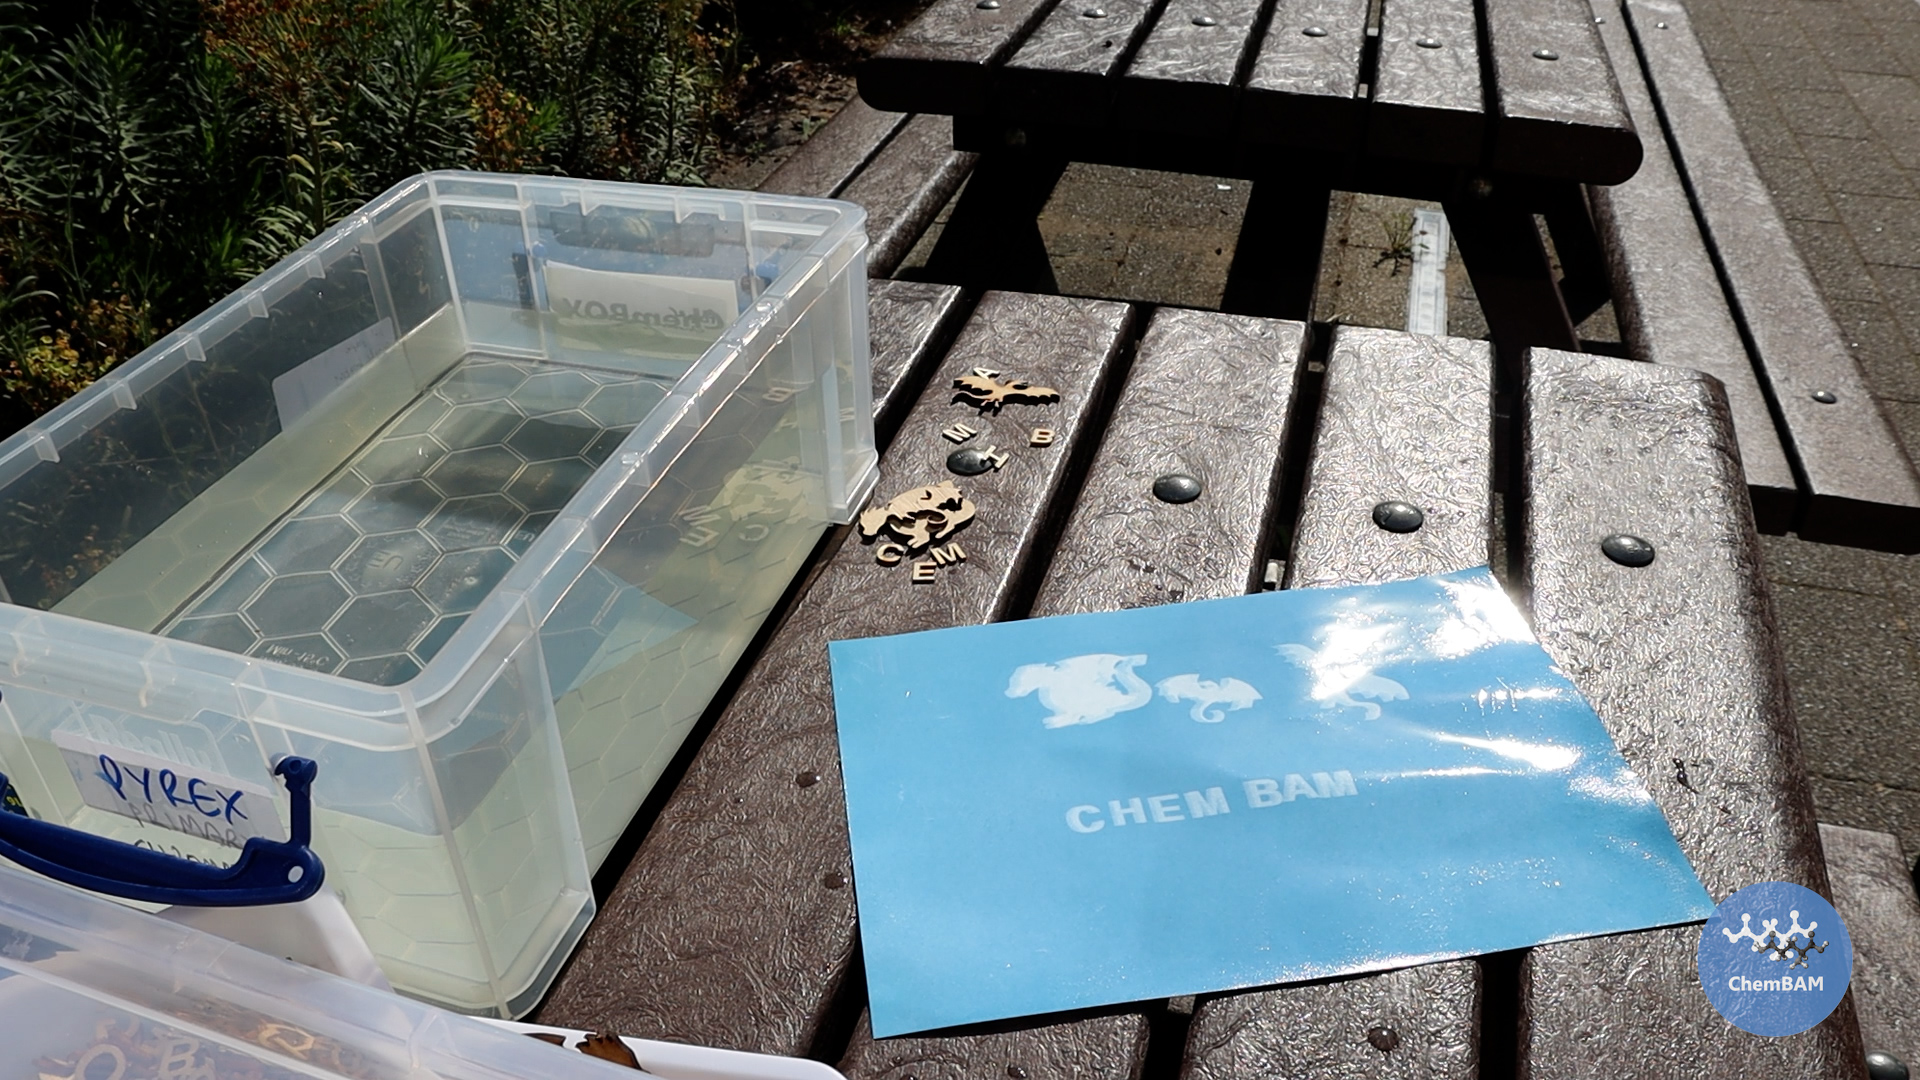
- Once finished developing, wash the paper under/in water thoroughly
- Lay the paper somewhere to dry, for example on a towel.
And your image is complete!

This work is licensed under a Creative Commons Attribution 4.0 International License.
